Monday, February 27, 2012

Vintage Picture Frame: DIY for under $5

I'm moving into a new house in about a month so I'm trying to make all of my home decor pieces myself. One thing that I love to make is picture frames!!


Materials Needed To Make This Vintage Picture Frame:
1. Modge Podge (One medium container is about $6 but you can use it for tons of projects! I buy mine at Michael's and always use a 50% off coupon to get it for only $3!)
2. Sponge Paint Brush (.14-.20 cents at your local craft store.)
3. Wooden Picture Frame: $1 at Michaels
4. 1 piece of scrapbook paper: average price is .50 cents.

First place your wooden frame on top of your scrapbook paper. Make sure your paper is face down. Use scissors or a razor blade to cut the paper so you can see through the center of the frame. (Where your picture will be.) Be sure to leave a small lip so you can cover the inner edge of the frame once it is folded.

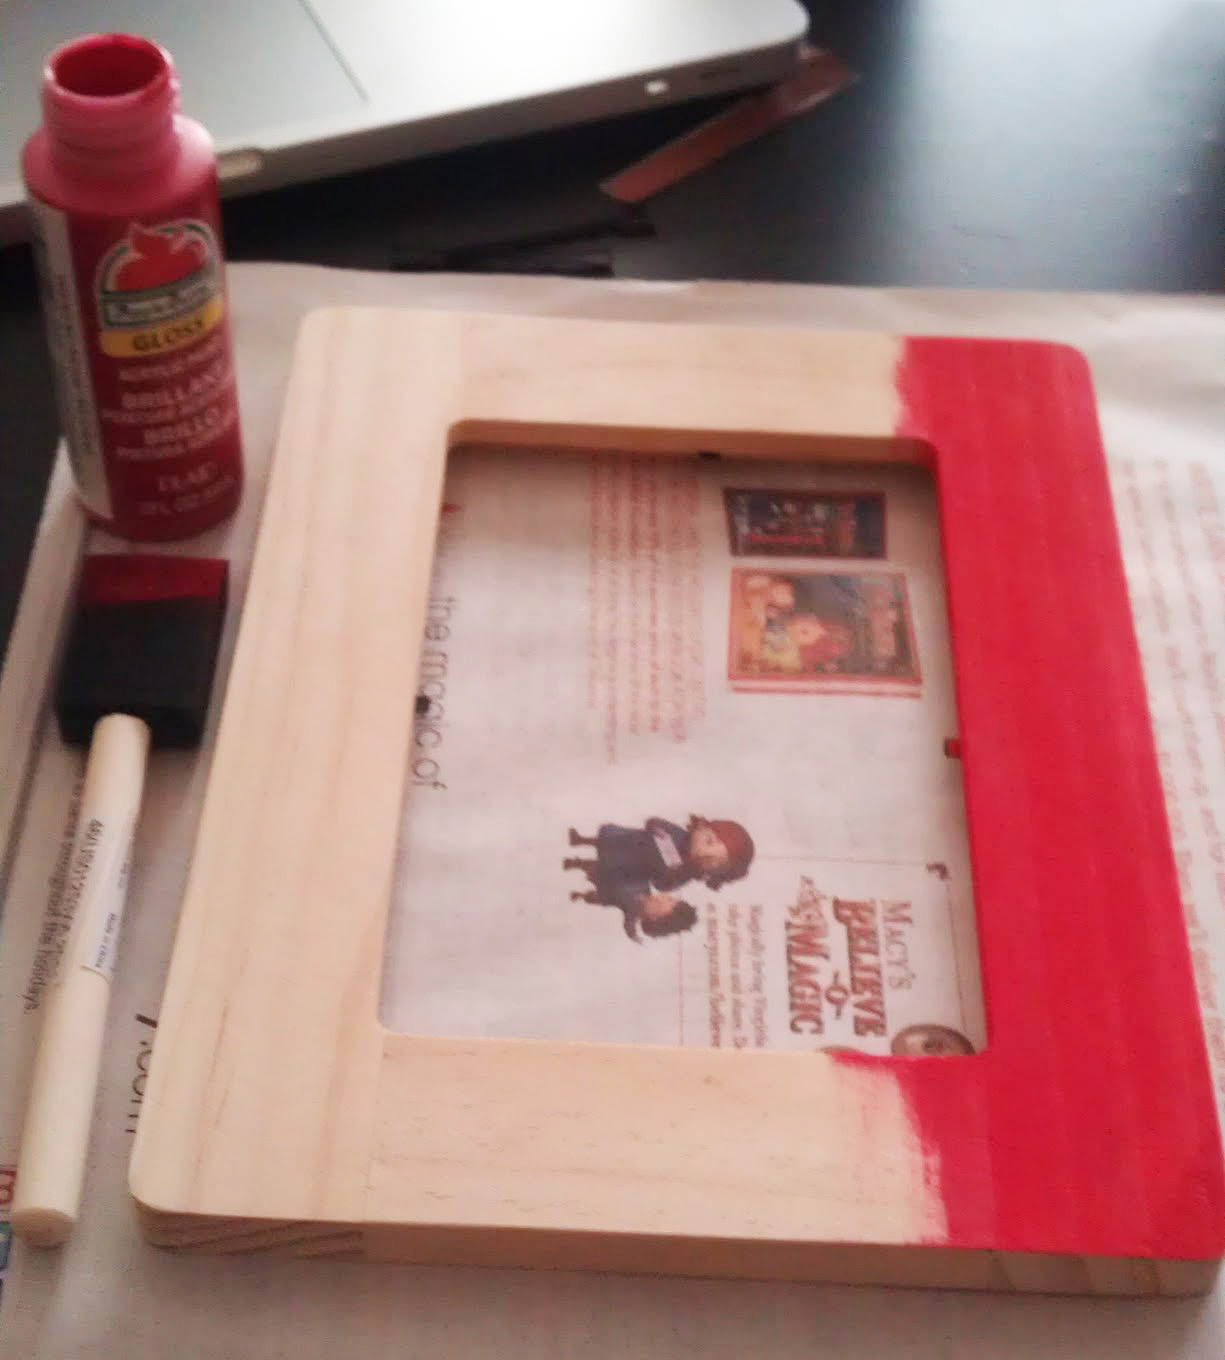
Second, remove the frame from on top of the paper and brush the frame with a thick coat of modge podge.

Next, place the frame back on the paper (make sure the paper design is face down) and wrap the frame like you would a gift/present. (Depending on the size of your paper, you may need to trim the edges so it isn't too long etc.) Make sure you smooth out any bubbles.

Once you have all of the edges and the back fully covered, brush a coat of modge podge over the paper covered frame. If your frame has round edges like mine, be sure to use extra modge podge in that area to help fold back the corners.

Don't worry if you rip your paper or miss a spot! You can patch any spots by simply cutting a patch piece in the same design and using modge podge to keep it in place.

** I will try to upload step by step photos soon. 

Quick Tip: How To Organize Your Scarves

Have a ton of scarves but no where to put them? Try making your own scarf organizer out of a hanger and a few shower curtain rings. This is a quick and easy way to organize your scarves or even ties.

As you can see in the picture, the hanger is slightly bent due to the weight of the scarves. I recommend using a wooden hanger to prevent this.

I transferred my scarves onto a wooden hanger and haven't had any problems with the weight.

**Tip: Once you have your rings on the hanger, place a small piece of electrical tape over the ring clasp. This will help prevent any snagging when you take you scarves on and off the rings. 

Thursday, December 29, 2011

Personalized Picture Frames!


These personalized frames are super cute and easy to make! 


What you'll need:
1. Wooden frames
2. Paint
3. Stickers to create your design
4. Sponge brushes

To make the "Love" frame you will need to do the following:

Step 1: Place your sticker design directly on your unpainted frame.

Step 2: Once your stickers are secured, begin to paint your frame. Be sure to use light pressure when painting over your stickers. I also made sure to paint away from the edge of the stickers to help avoid any paint from seeping under them.

* Don't forget to paint the wooden stand or stick that comes with the frame!

Step 3: Once all the sides of the frame are completely dry, use a razor blade to slowing peal up each sticker.

That's it! Now you have a decorative/personalized frame!


Monday, December 26, 2011

Winter Wonderland Wine Bottles

I transformed these old wine bottles into a "Winter Wonderland"centerpiece for my dining room! 


What you'll need: 
1. 2-3 empty wine bottles
2. Primer spray paint 
3. Adhesive spray 
4. Epsom salt 
5. Tray or charger to put the finished bottles on. 
6. Decorative picks. 


Step 1: Spray the empty wine bottles with a thin coat of primer. Once the bottles have dried, repeat Step 1 until the bottles are completely covered with primer. 


Step 2: Once the bottles are dry, spray them with a clear adhesive spray. You can find this at any craft store.


Step 3: Immediately roll eat bottle in Epsom Salt. **Make sure to place the Epsom Salt on wax paper for easy clean up.


Let your bottles dry for 10-15 minutes. Don't worry if you missed a few spots! You can always respray those areas and roll your bottle back in the Epsom Salt. Doing this won't cause any damage to the areas that you previously sprayed/covered with Epsom Salt.


Step 4: Just insert your picks, place the bottles on your tray or charger and you're done!


This is a quick and easy project! 

Decorative Glitter Frames

I made these cute Christmas frames! It was a fun, quick and inexpensive project that helped make the room look more festive. Plus, the glitter won't fall off!


Here's how to make them.


What you'll need:
1. Wooden frames from your local craft store. (About $1 or less each at Michaels.)
2. Sponge brushes
3. Modge Podge
4. Glitter in your favorite color
5. Paint to match the glitter


Step 1: Paint the front, back and sides of the wooden frame.


Step 2: Once your painted frame has dried completely, brush on a thick coat of Modge Podge. Then cover the Modge Podged frame with glitter. Tip: Put your frame on wax paper before pouring on the glitter. This will allow you to save the leftover glitter. 
Step 3: Shake off all the leftover glitter and let set for 2-3 minutes to make sure the Modge Podge dries completely. 

Step 4: Spray the entire frame with a UV- Resistant Clear Acrylic Spray Paint. After you spray the frame, let it dry for 10 minutes. Then repeat Step 4. 

Once, the frame is completely dry you are done! Here is the finished product. 


I also created a green version of these frames using a finer glitter. 

 Instructions on how to make the Love frame can be found here: http://monicascreativecrafts.blogspot.com/2011/12/diy-frames.html.